Photoshop is a creatie software used for editing or image manipulation. We used it in order to make a creative Digipak and Poster. Two key techniques which we used are layering and saturation.
POSTER
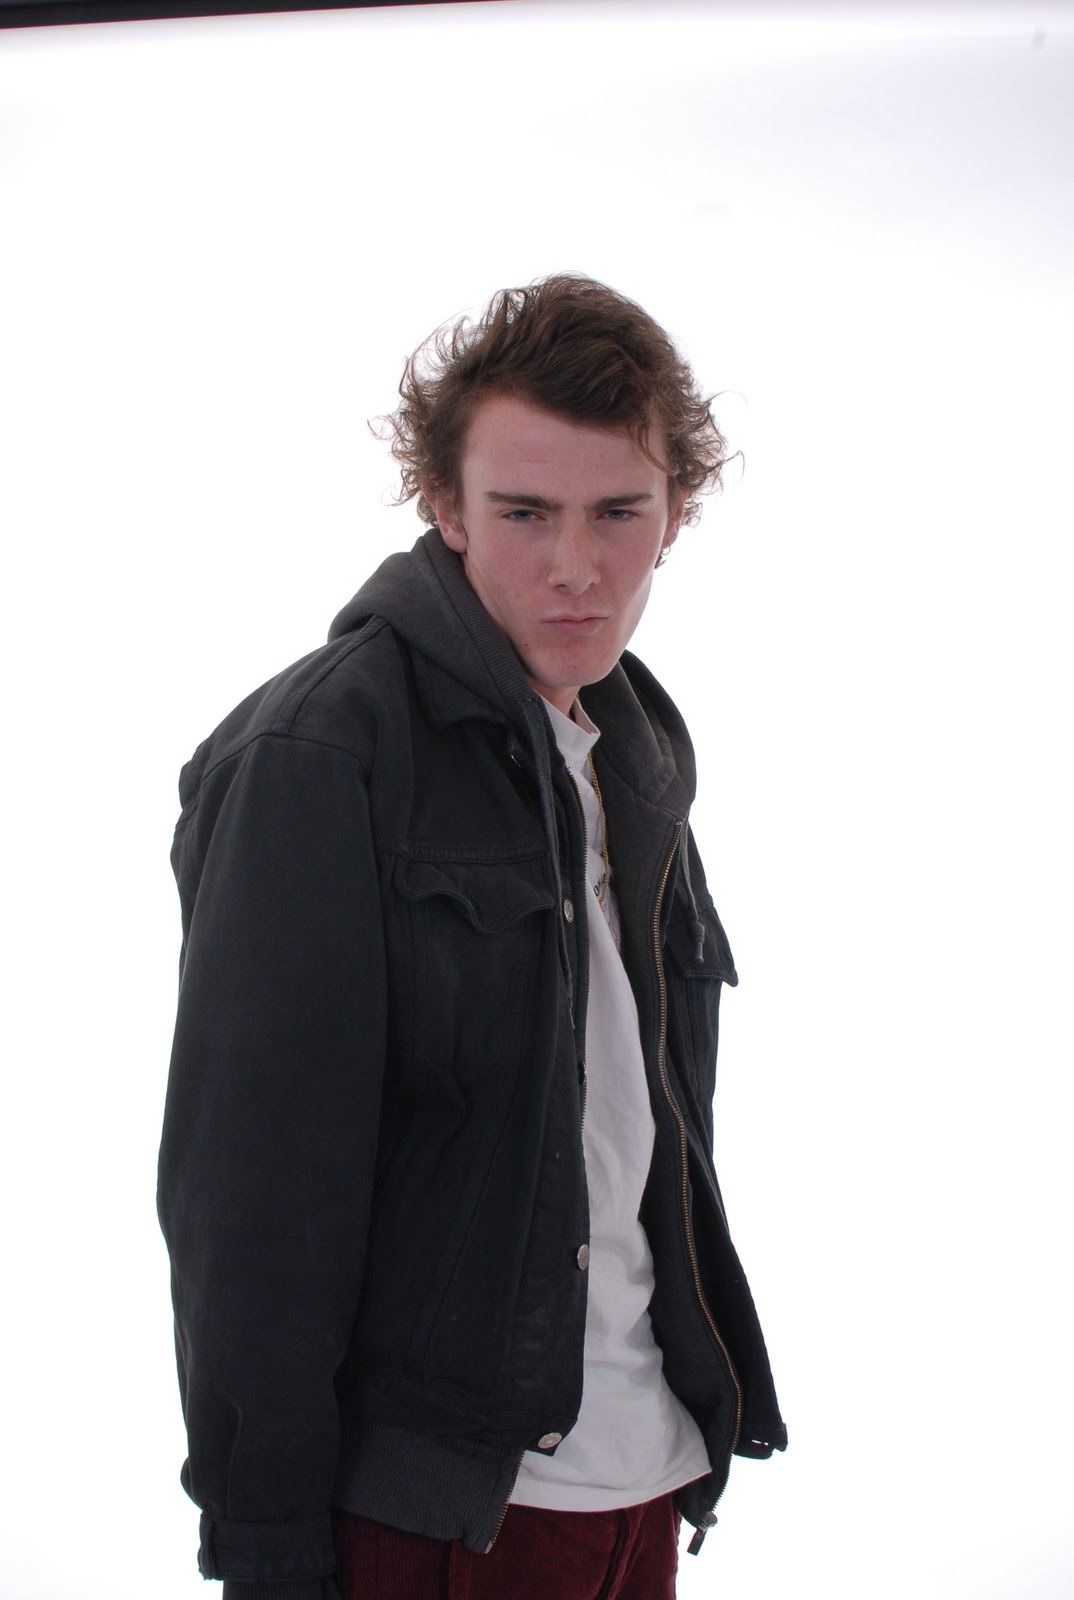
Firstly, we chose a photo from the many professional photo's we had taken of our band on our photoshoot day. With this, we then firstly changed the colours to black and white using the colour effect tool on Photoshop.

We then used Google as a research tool in order to save an image of a 'best seller' sticker for the poster. We used layering in order to get it onto the poster on photoshop and then the crop and shrink tool to scale it to our poster, holding ctrl whilst we did this so that it would scale correctly.
We got the contrast up on Photoshop and increased this so there was more contrast. The high contrast along with the black and white effect gave our band the dark feel which we hoped to portray in our poster, demonstrating our star image more than ever. We then used the 'T' tool in order to add text for the information on our poster which included release dates, tour dates and the name of our band 'The Vibe'.
DIGIPAK
In terms of our digipak, we decided on what we wanted to go in each panel. We made our frontcover quite early on using Photoshop again, and then used photos from our photoshoot day for the inside panels, and edited again the back cover on Photoshop. We used this software in order to put together all of our Digipak and thus Photoshop helped us create a professional and effective CD Digipak for our band. The front cover was made using layering from 3 different pictures. We saved all three pictures from google, the first one being a picture of a pentigram, the second Leonardo Divinci and the third was a landscape. The picture of the landscape gave us the idea for Spanning Three Borders as our album name. We used the 'T' text tool again to add this album title, again selecting whatever font and size we wanted. The back cover was a picture which we also grabbed from Google, a picture of a girls legs hanging.
However, we edited the contrast and the brightness once we had inserted this picture into Photoshop. Therefore, Google helped us excessively as a research tool, however we made it our own and could manipulate and edit everything exactly how we wanted it thanks to Photoshop. We grabbed a bar code of google and shrunk this to the size we needed, keeping everything in proposion. For the left inside panel we used singular pictures of each band member which we had taken on the photoshoot day.

We cropped each picture and transformed them so that we could layer them all together so it looked like one picture with them all standing in different places. We then whitened the background to make this effect even greater. For the right hand side, we again used a picture from our photoshoot day and edited the contrast and brightness and tranformed the picture so it fit the size of the panel. Each picture from our photoshoot day was individually edited in Photoshop before hand, again showing the importance of this software in the making of our ancillary tasks.

No comments:
Post a Comment